3 Ways Students Can Use Folding Resources to Explore Characters
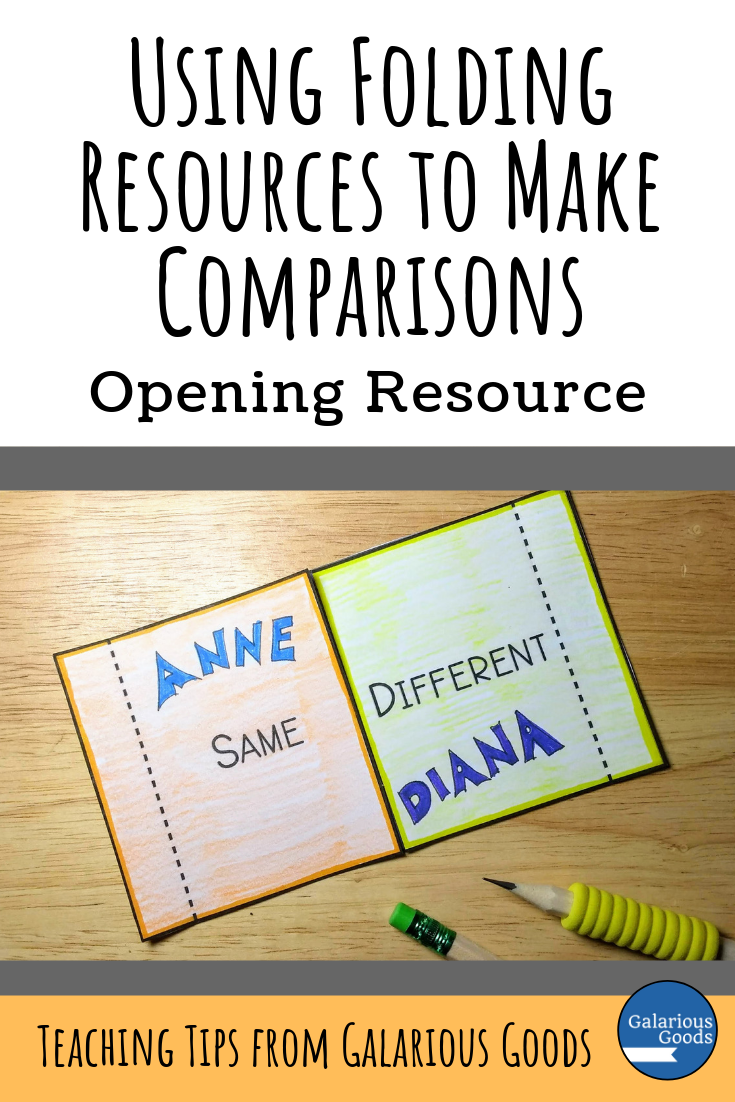
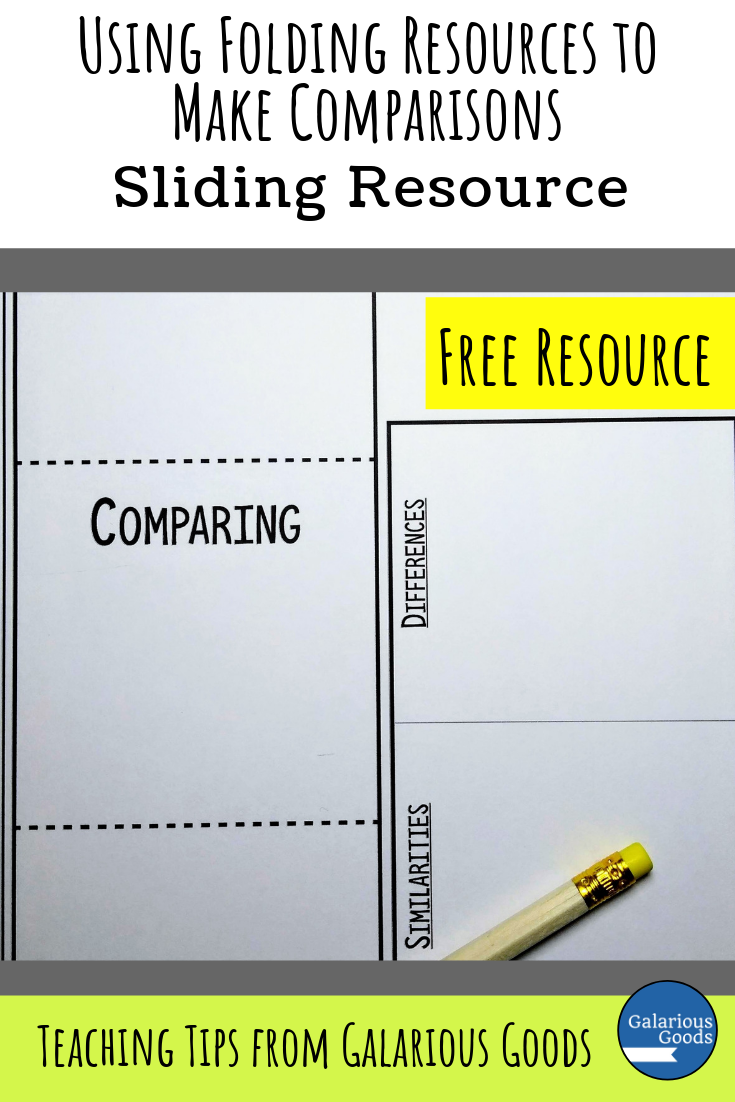
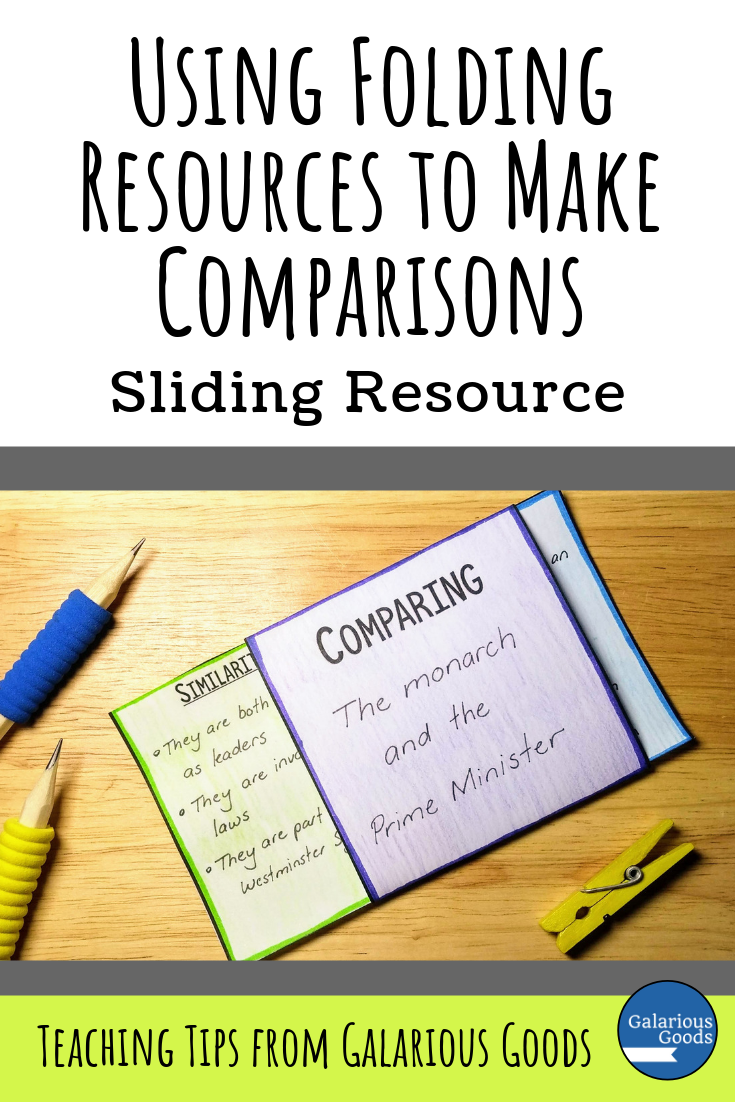
/You probably know how much I love interactive notebook resources! So far I’ve written two blog posts exploring how to use them to explore vocabulary and how to make comparisons. But as someone who adores book studies, I couldn’t resist sharing some ways you can use interactive notebook resources to explore character. (Don’t miss the free resources as well!)
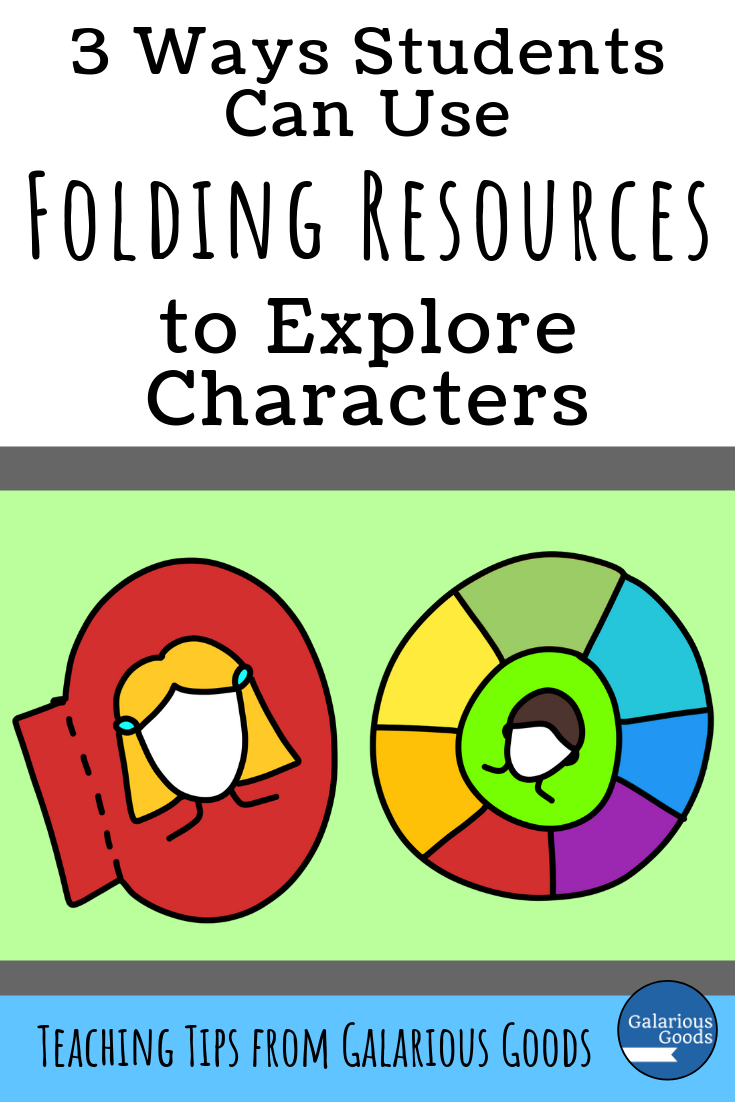
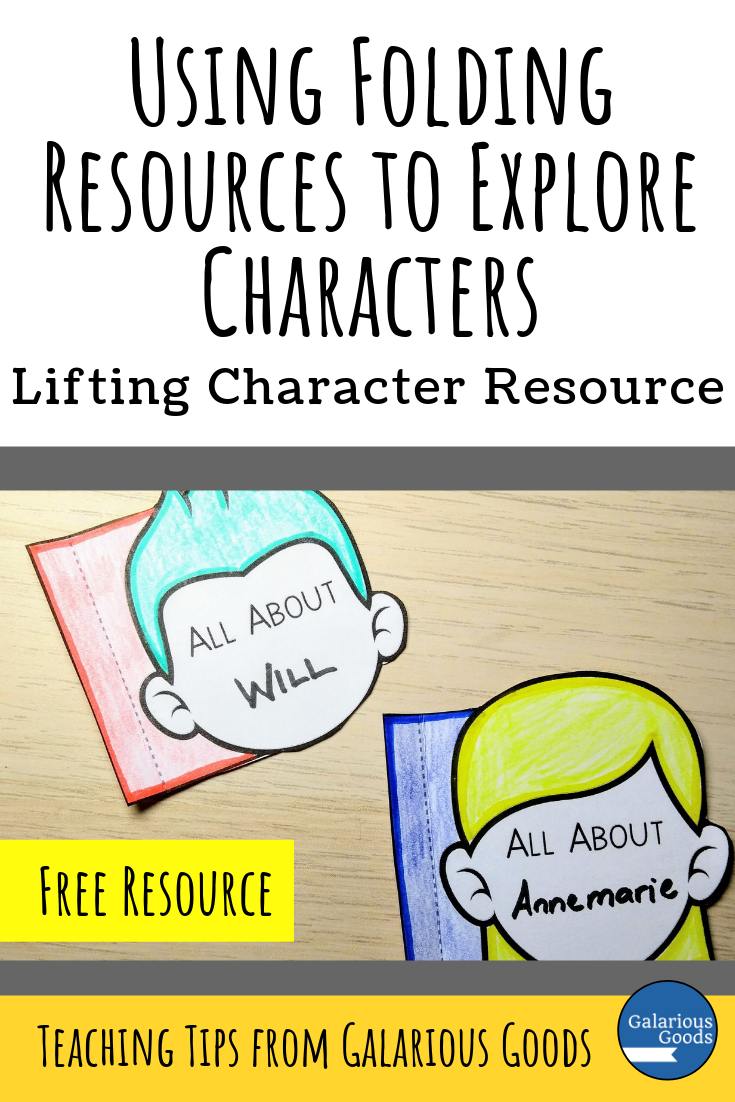
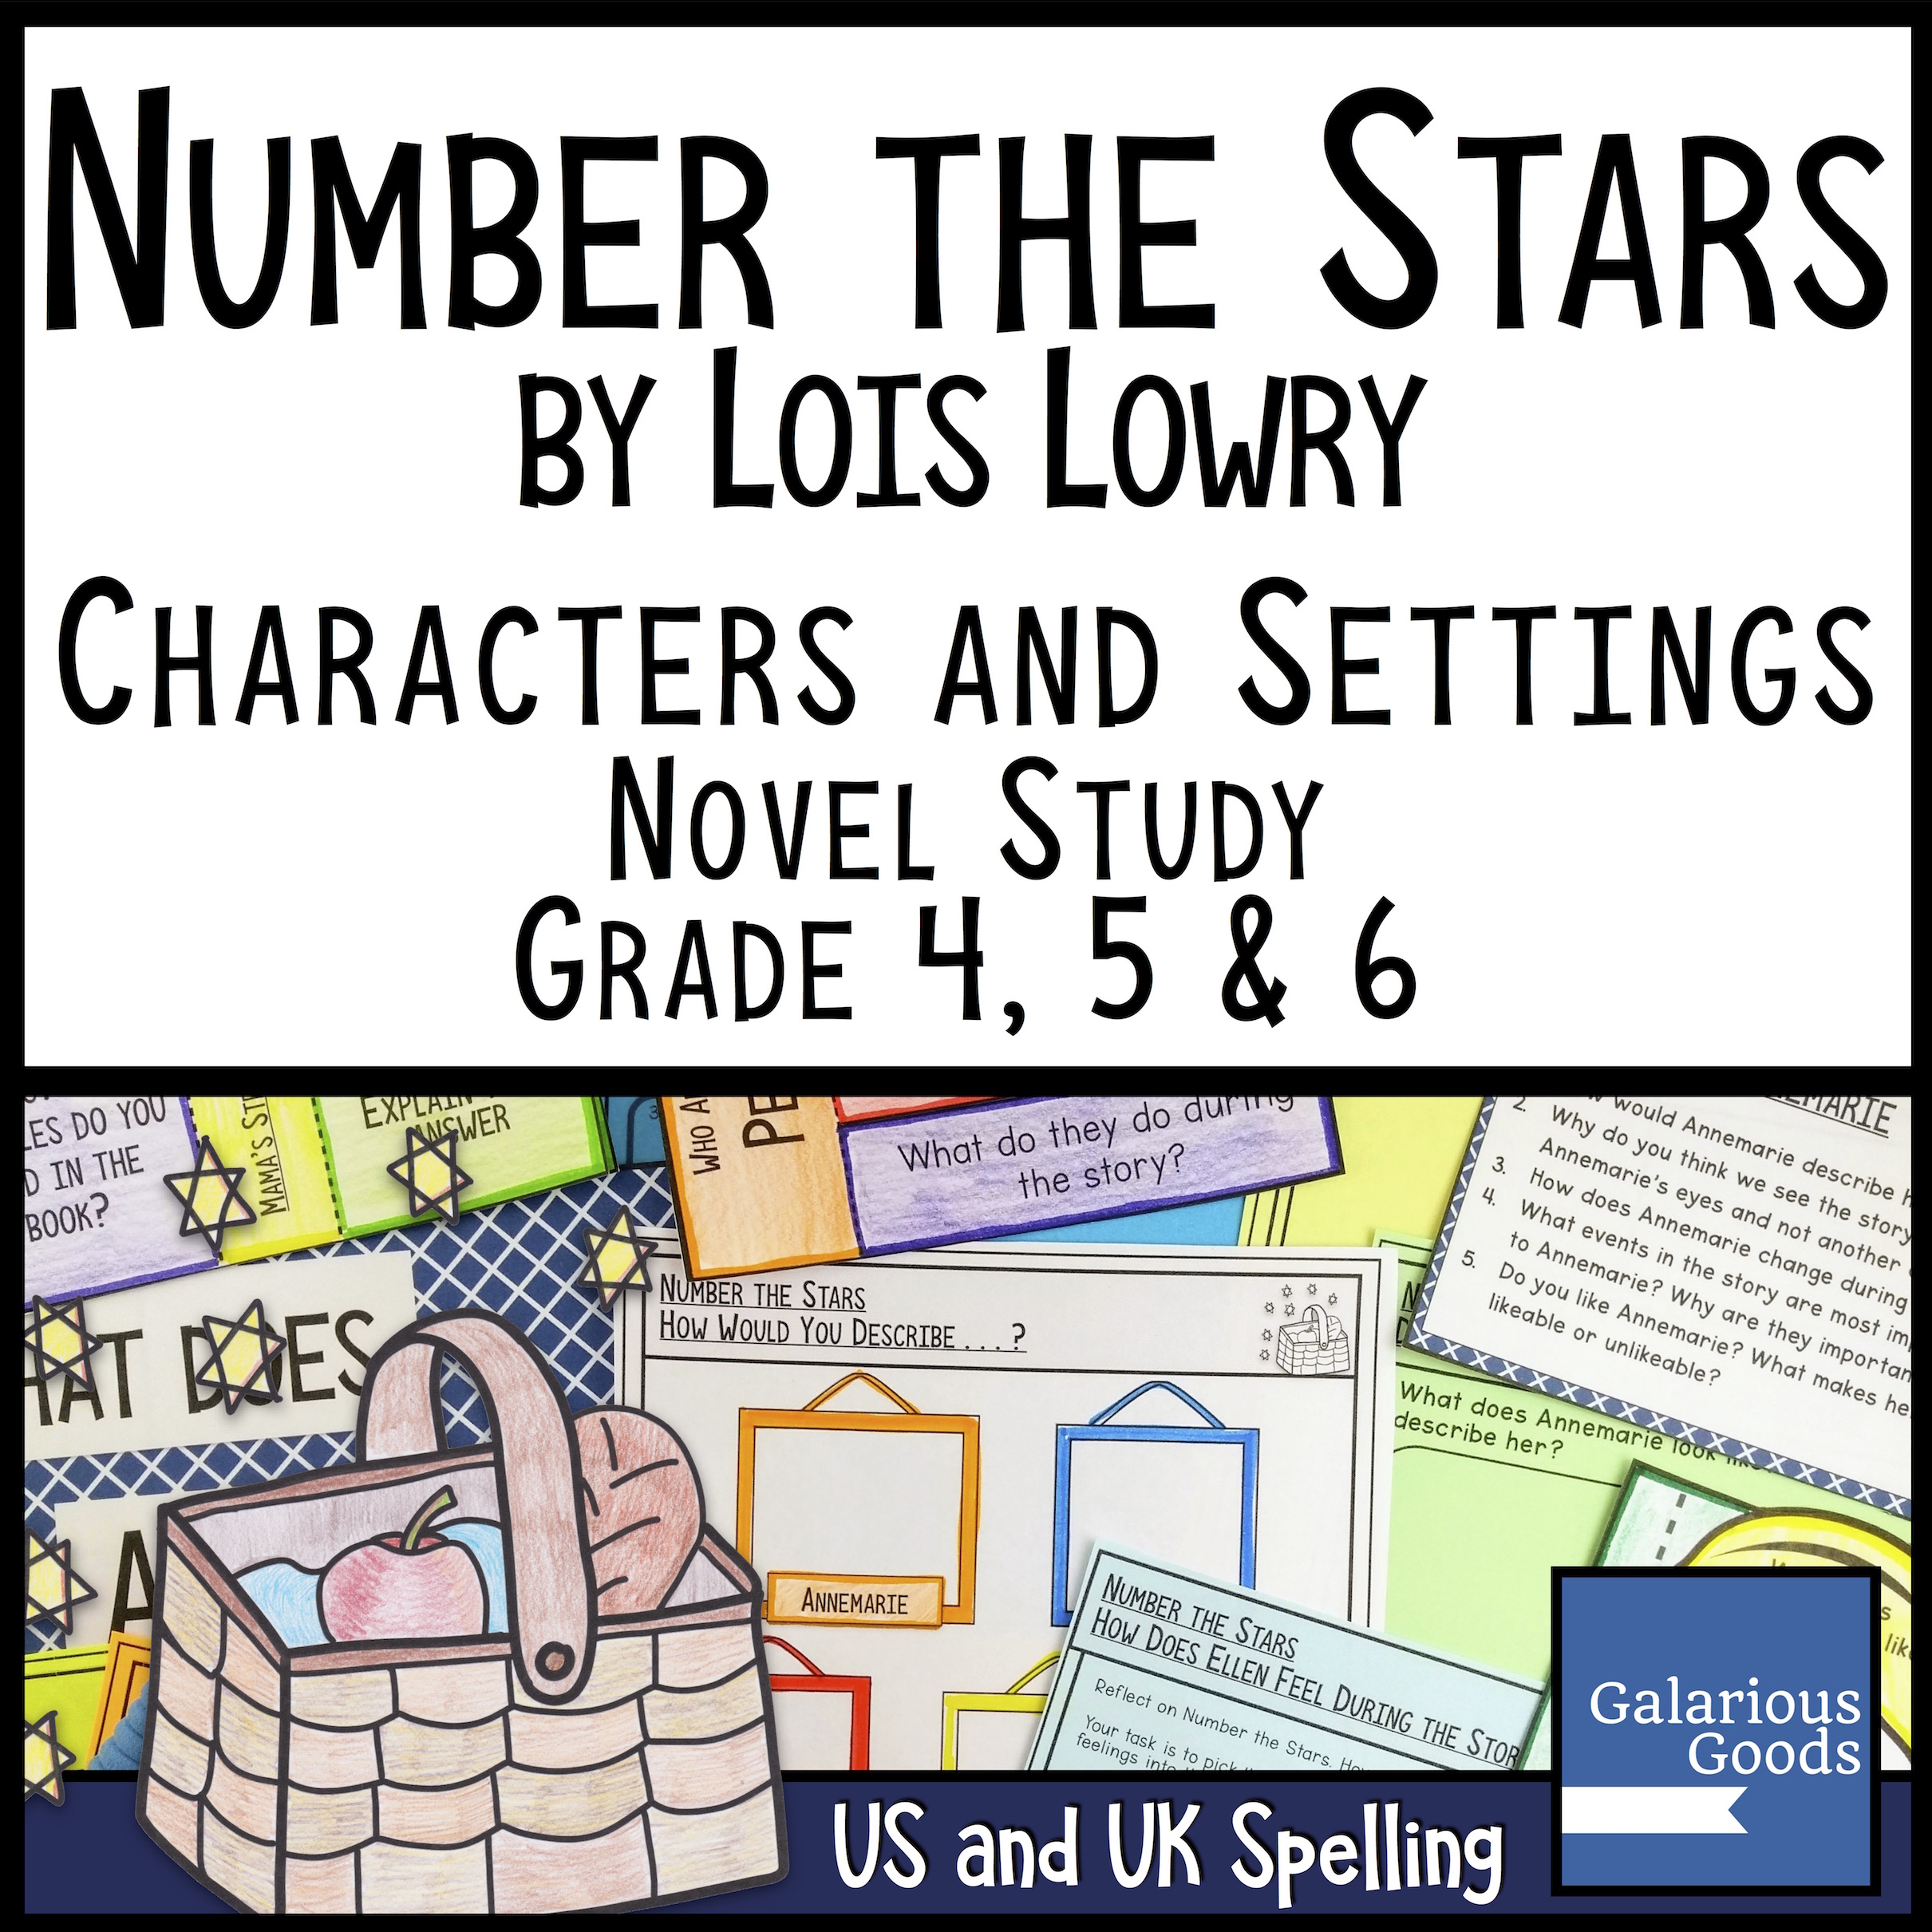
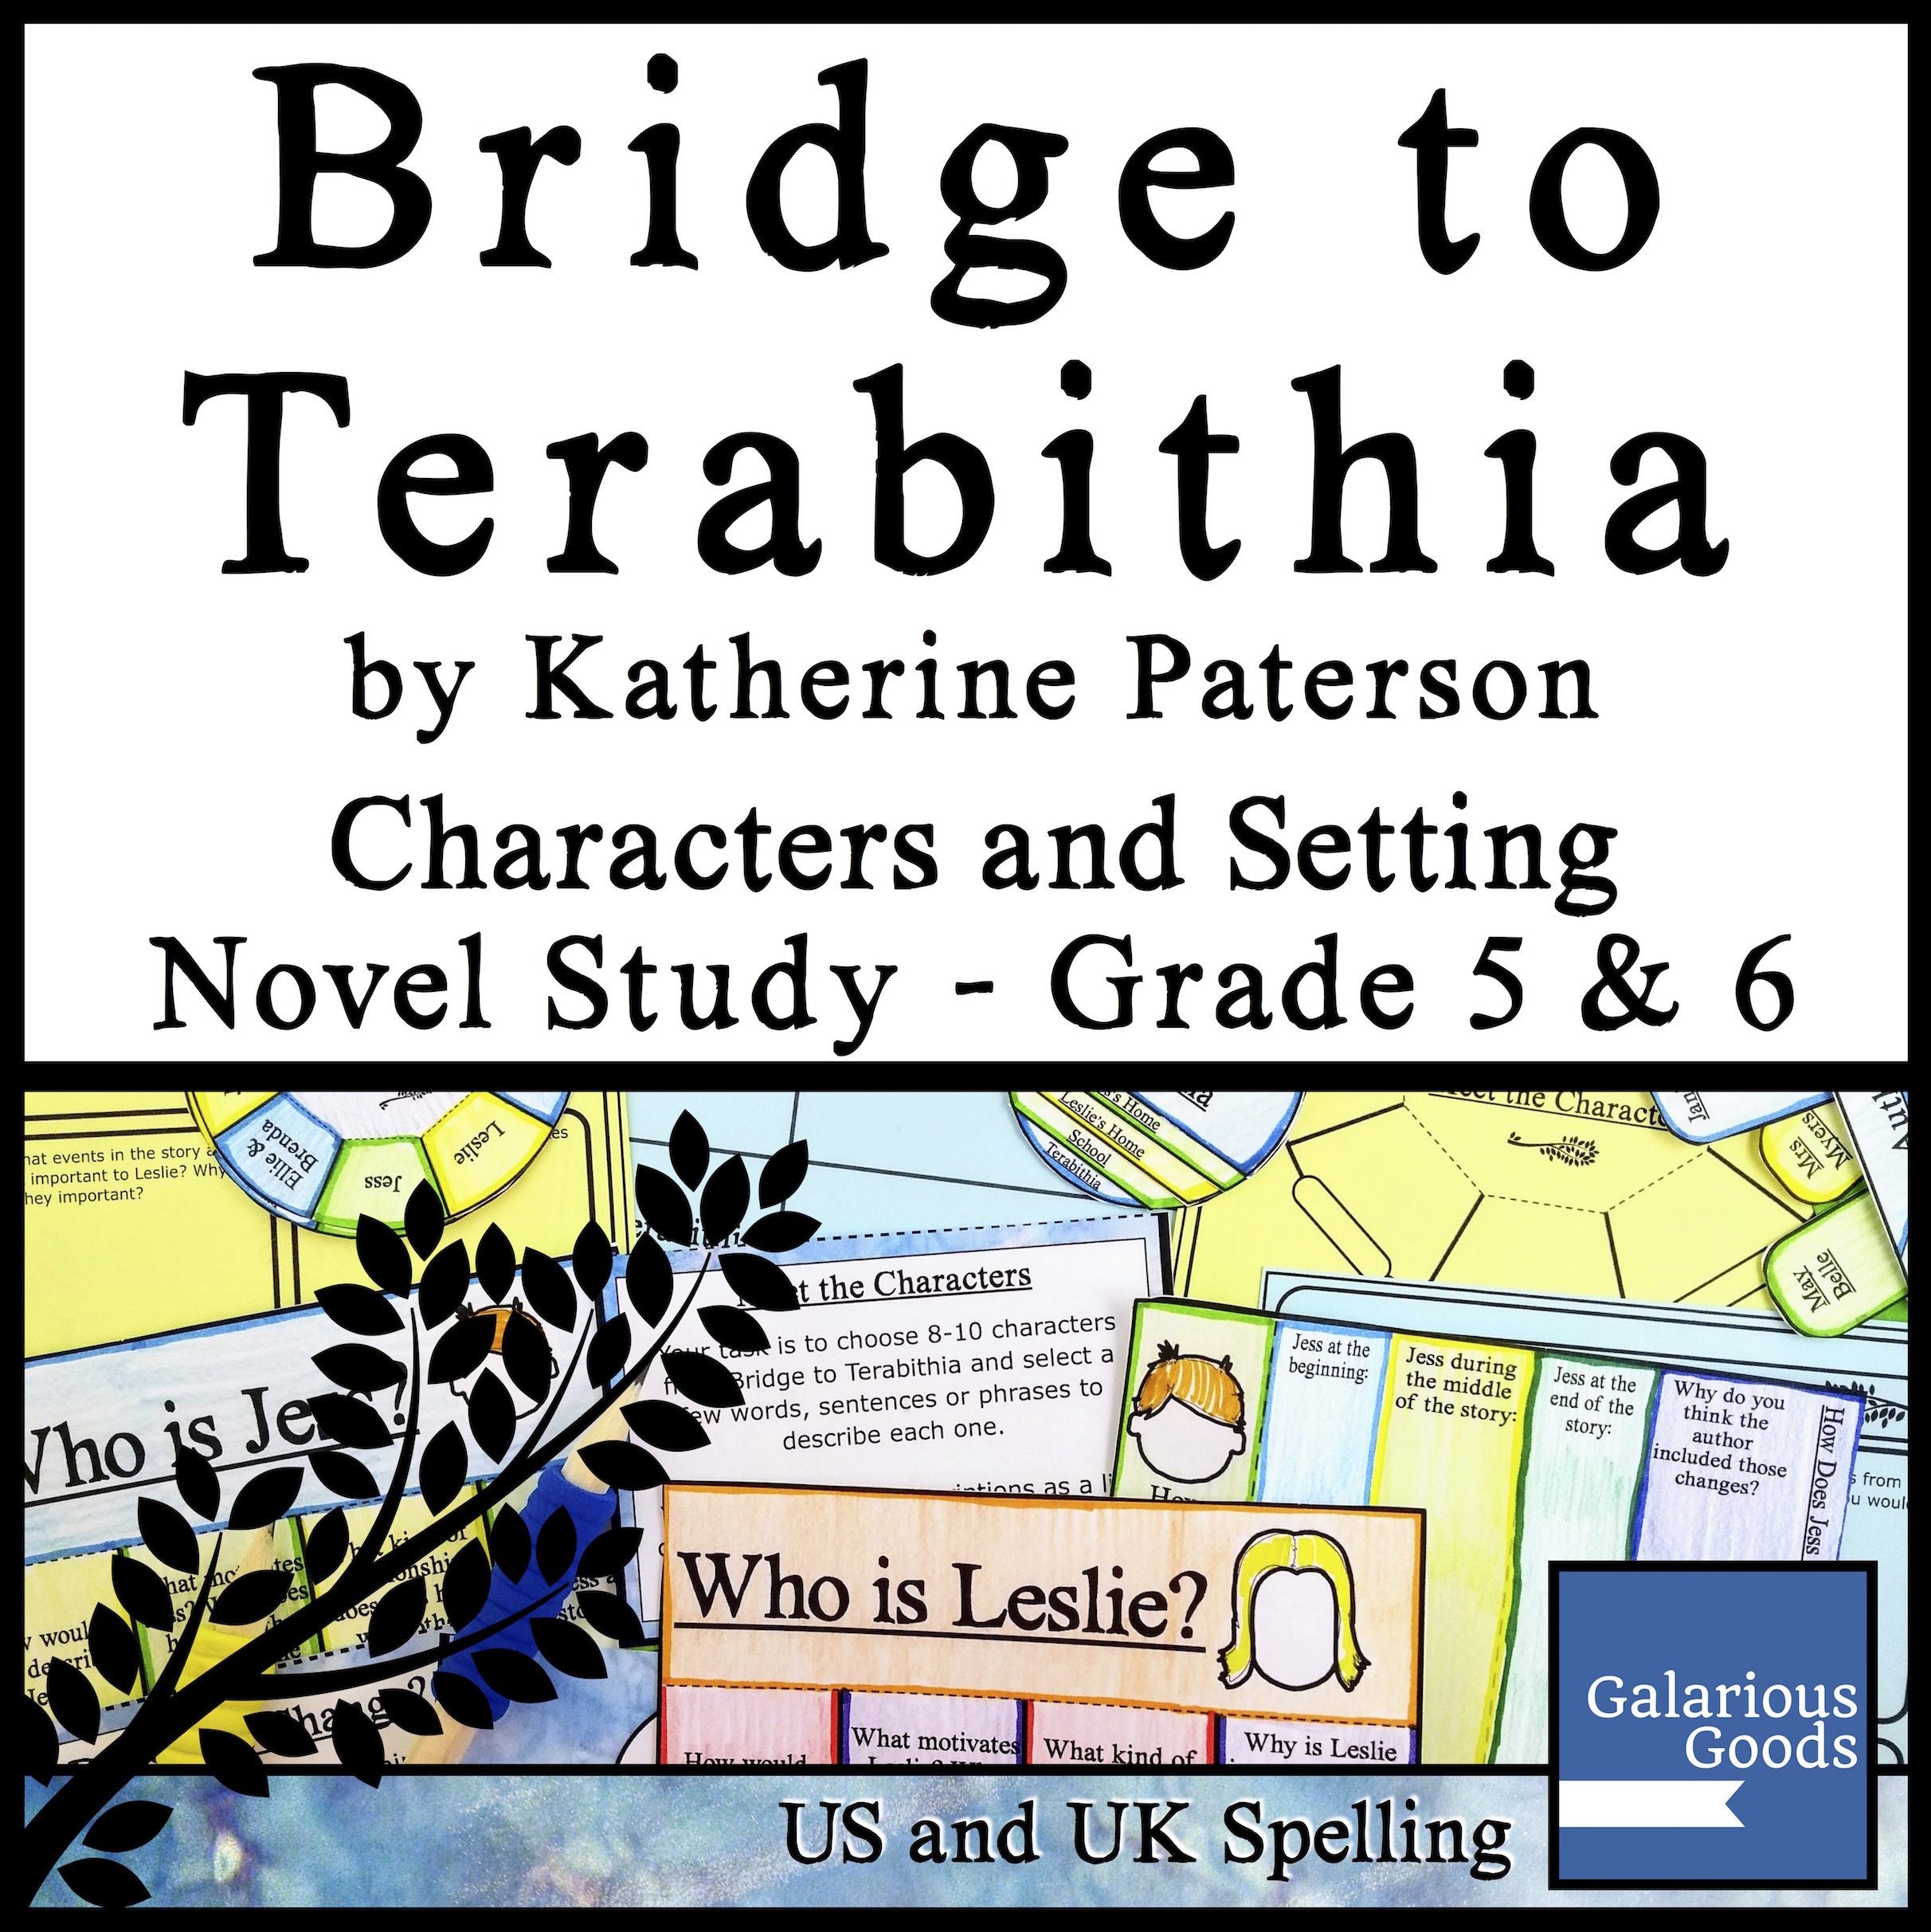
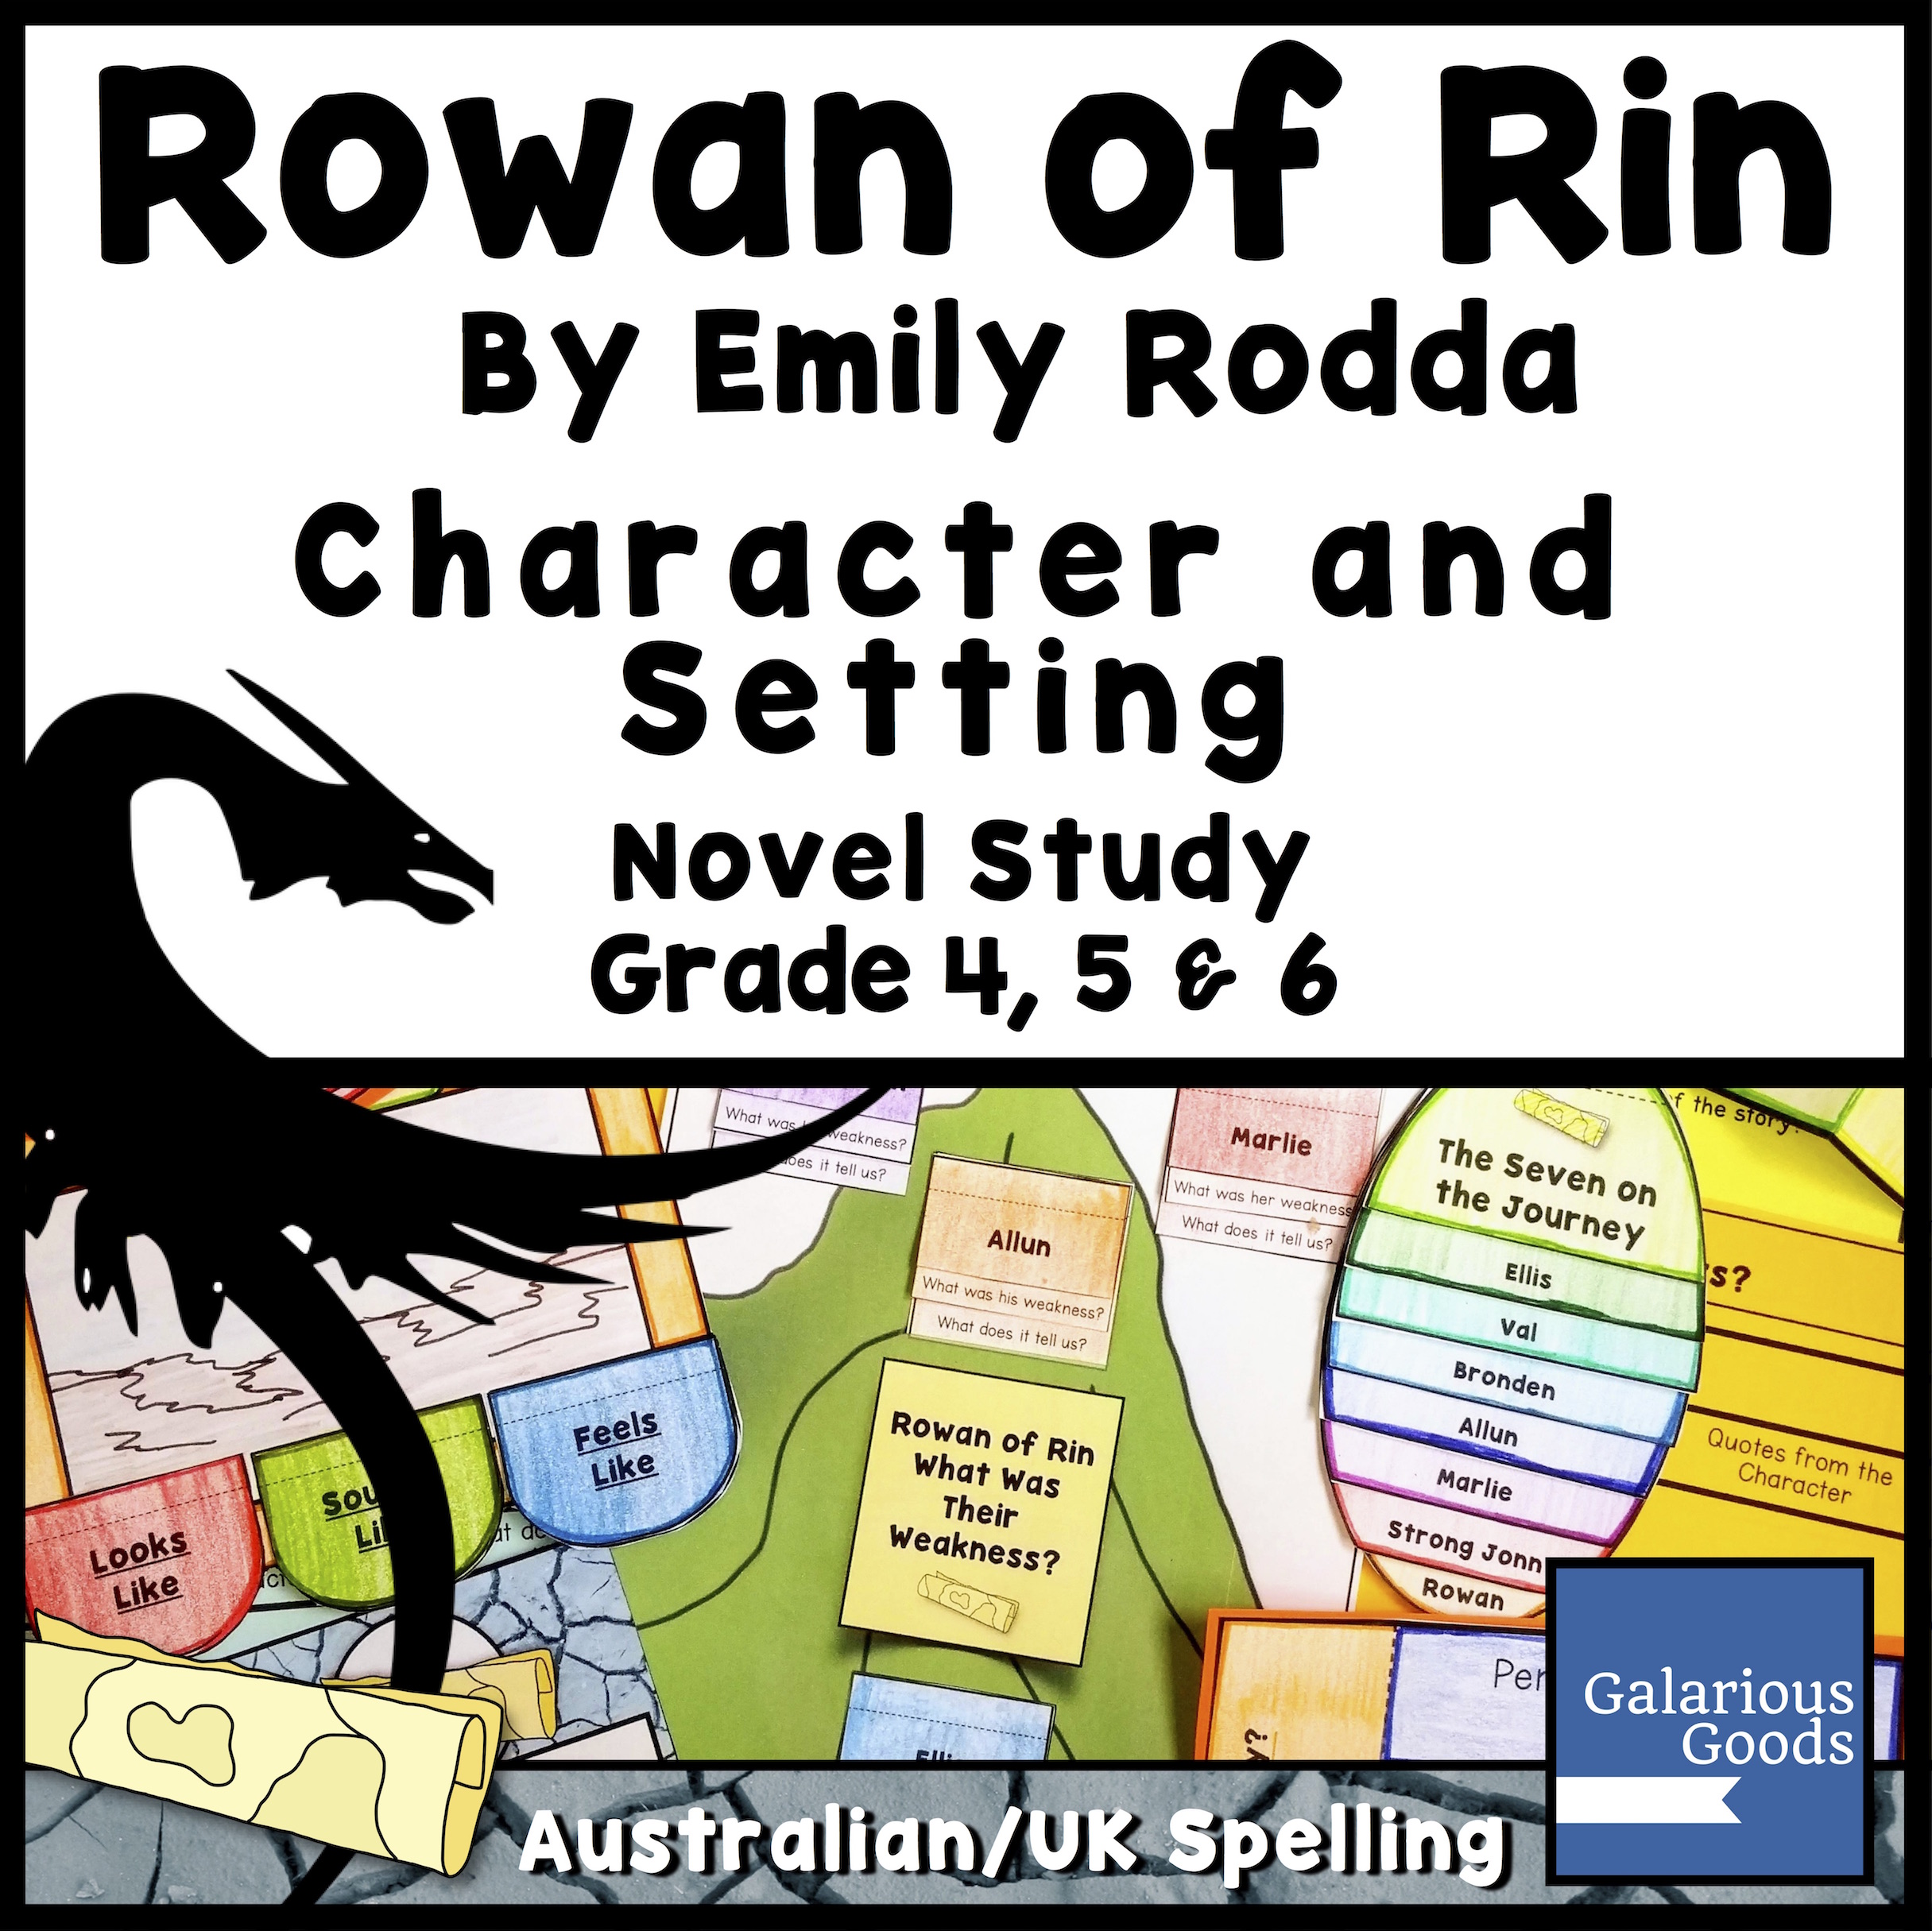
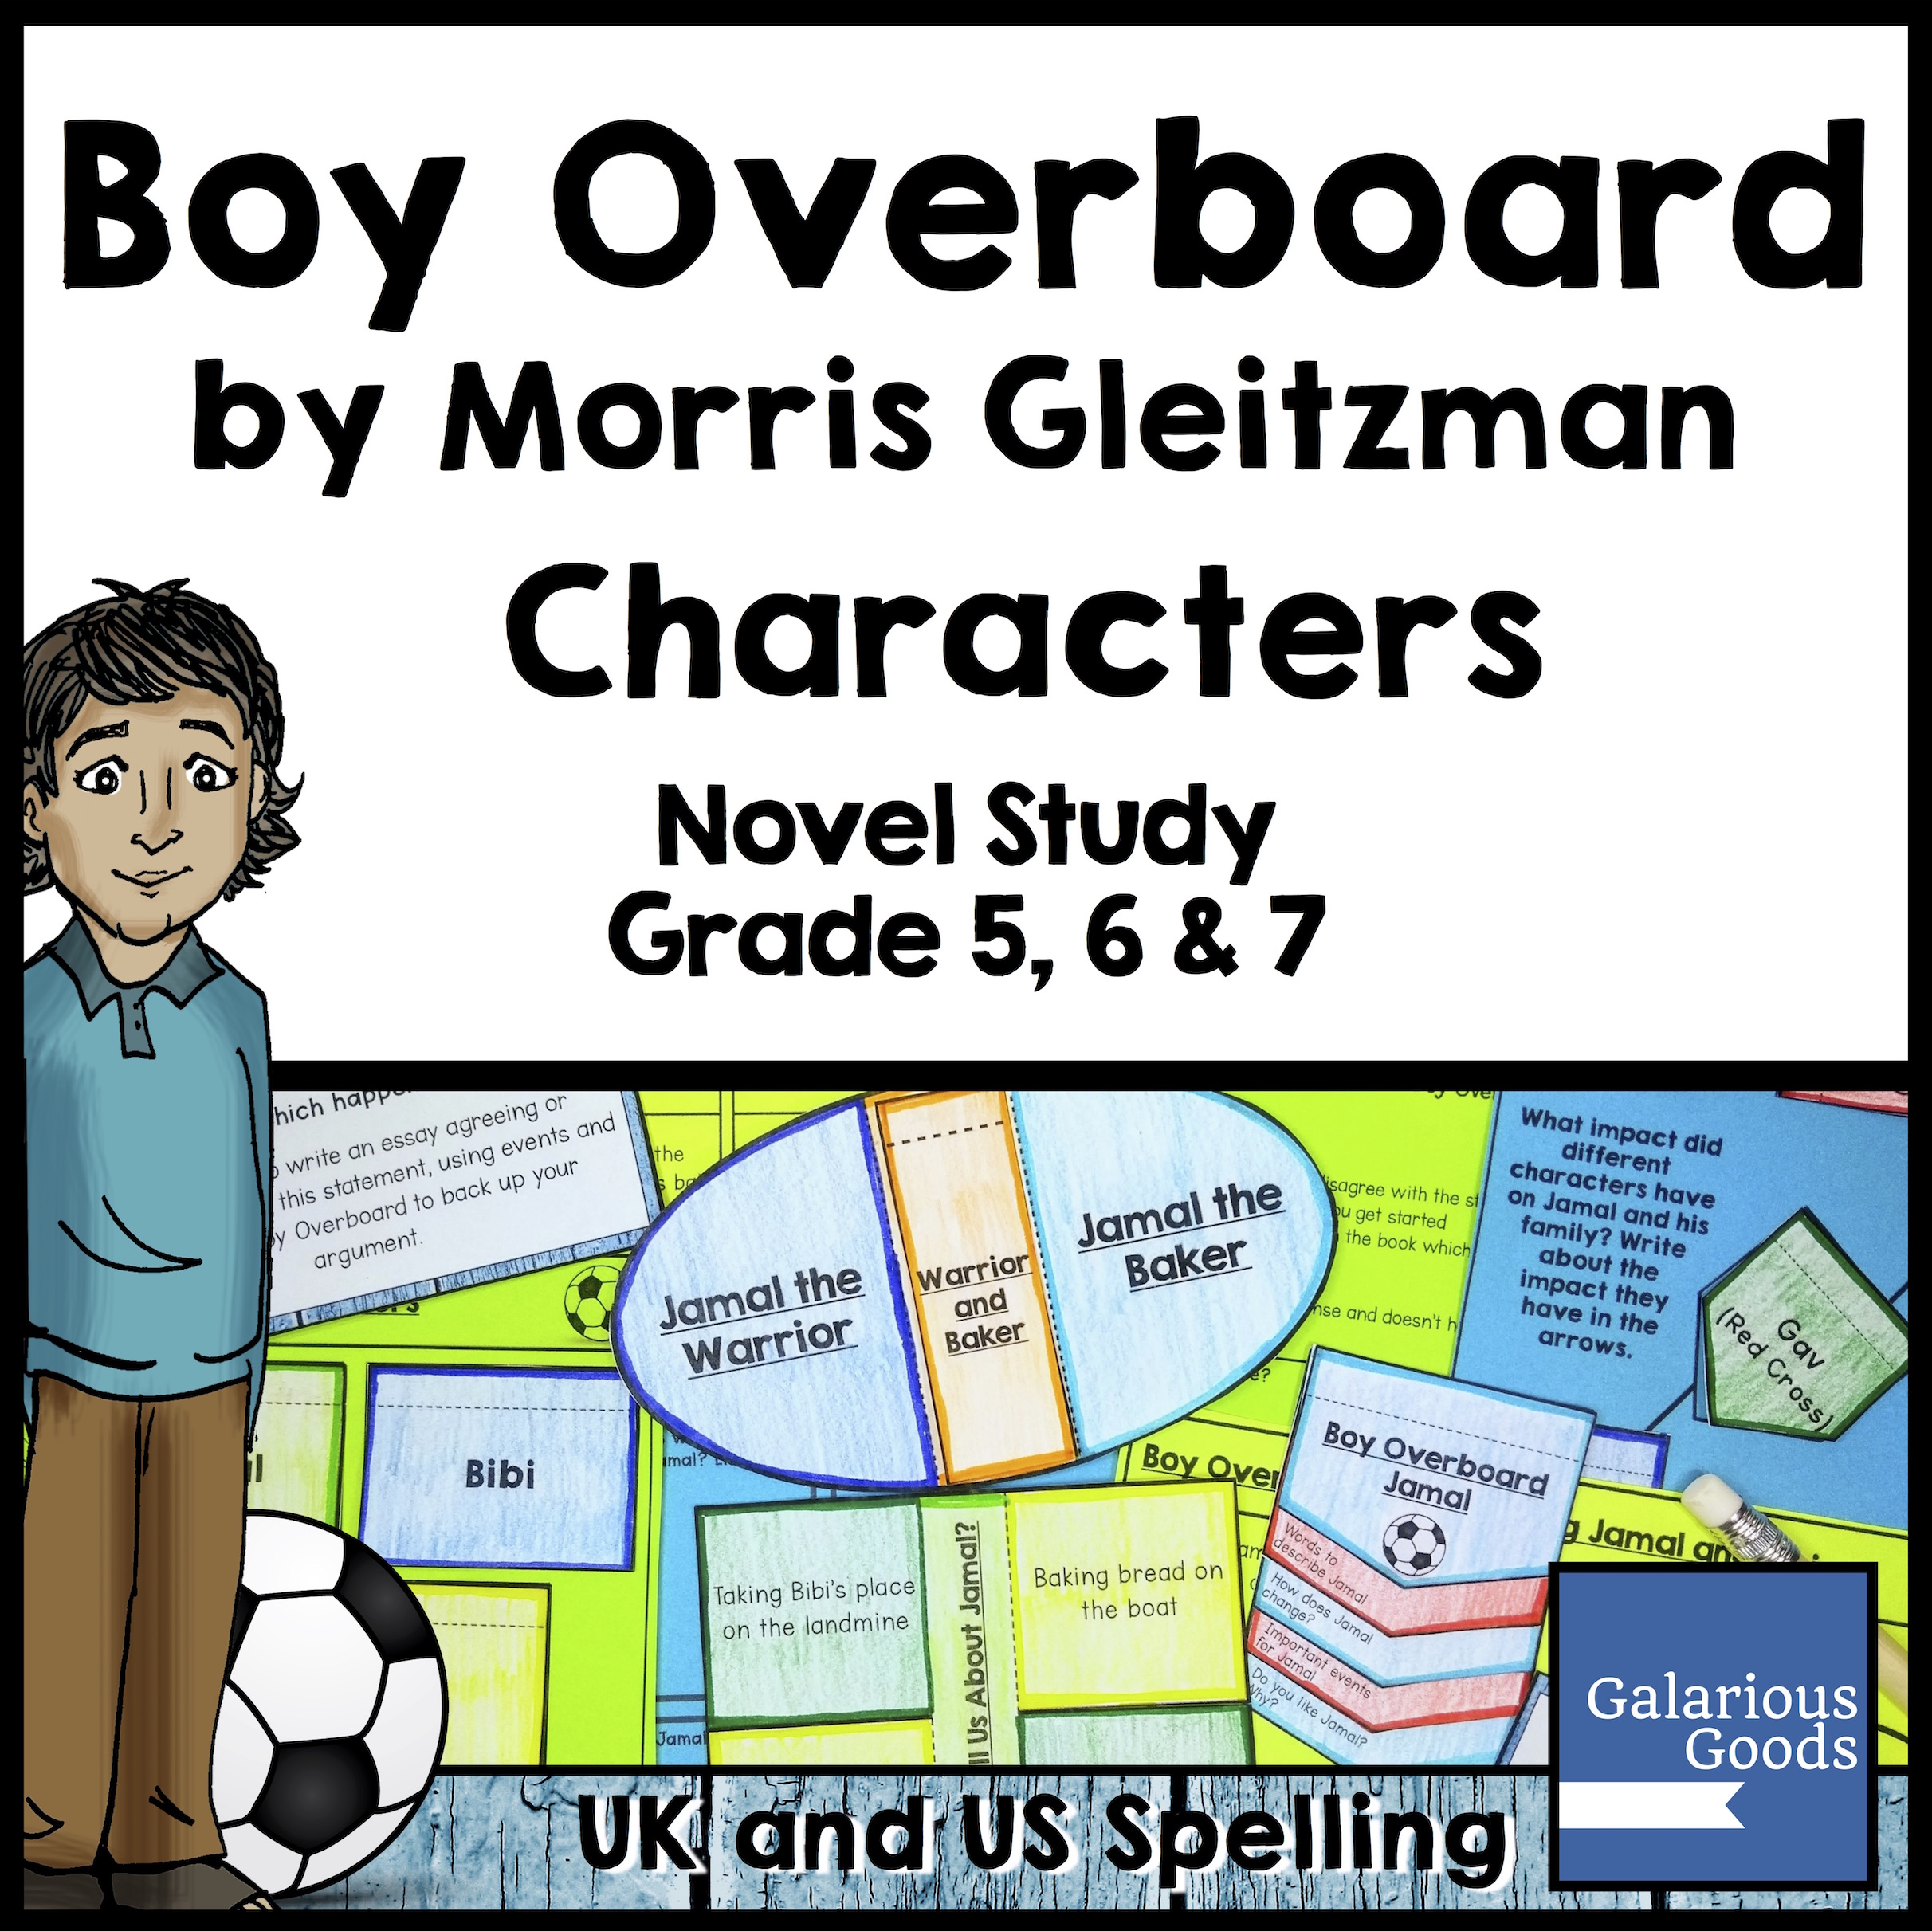
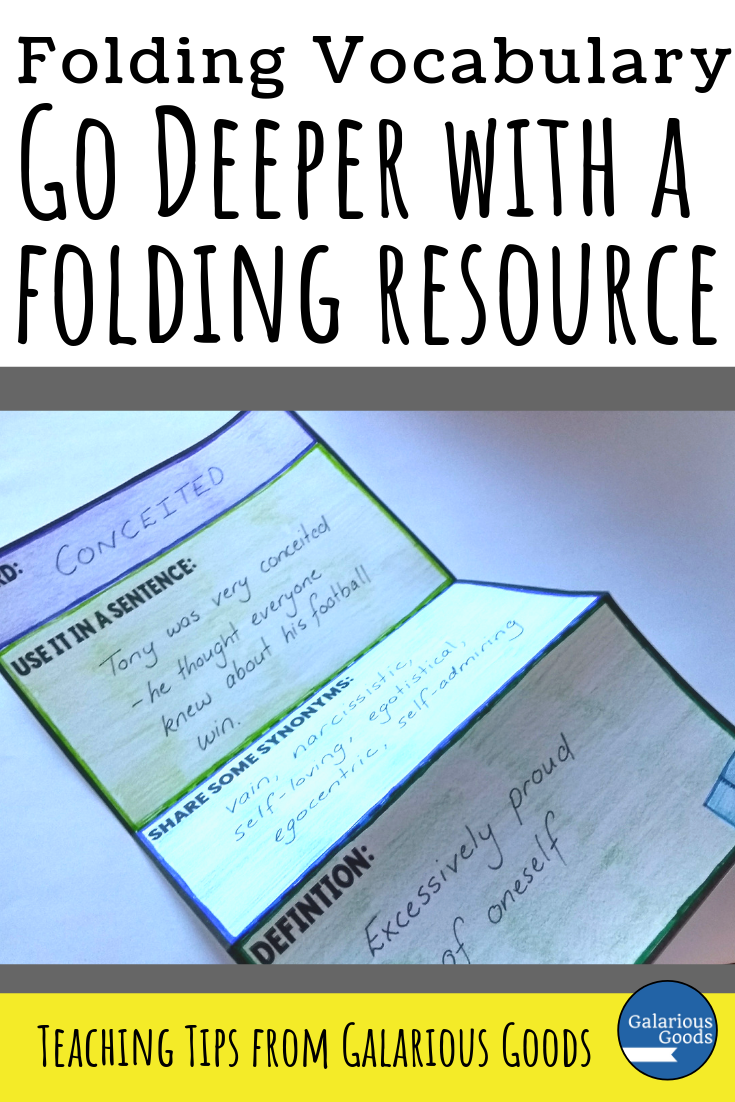
These folding resources use a picture of the character’s face (or the whole character) to combine creativity and understanding of the character in one resource.
Students are provided with a ‘cover’ image of the character with a side or top tab. They cut around the outside, then fold the tab on the dotted line. The tab is pasted into their notebook or onto paper and the cover is lifted so students can write about the character under the cover.
This is a really adaptable resource because students can use a template or create their own character images. As long as they include a side or top tab, it works as a folding resource.
Take it further
Students can use it to explore a character they’re writing about
Students can work in pairs or small groups to explore all the main characters of a book. These can be put together to create a display
Students can recreate a ‘scene’ from a book with the lifting character resources.
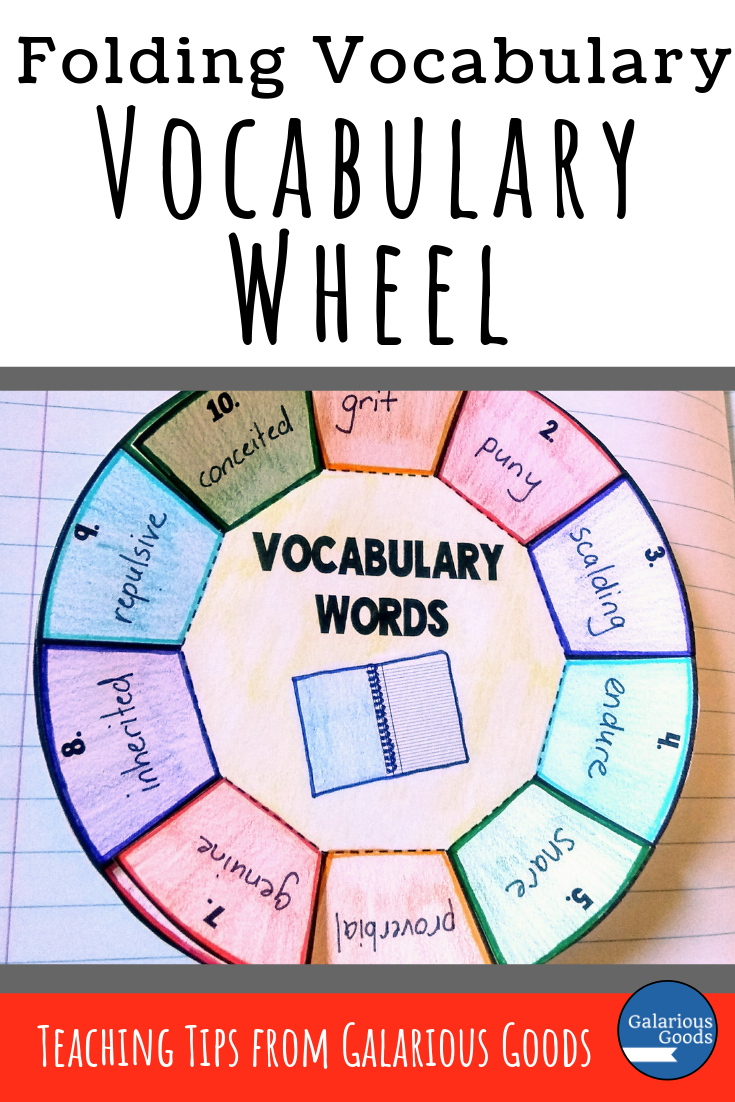
2. Circular Character Folding Resource
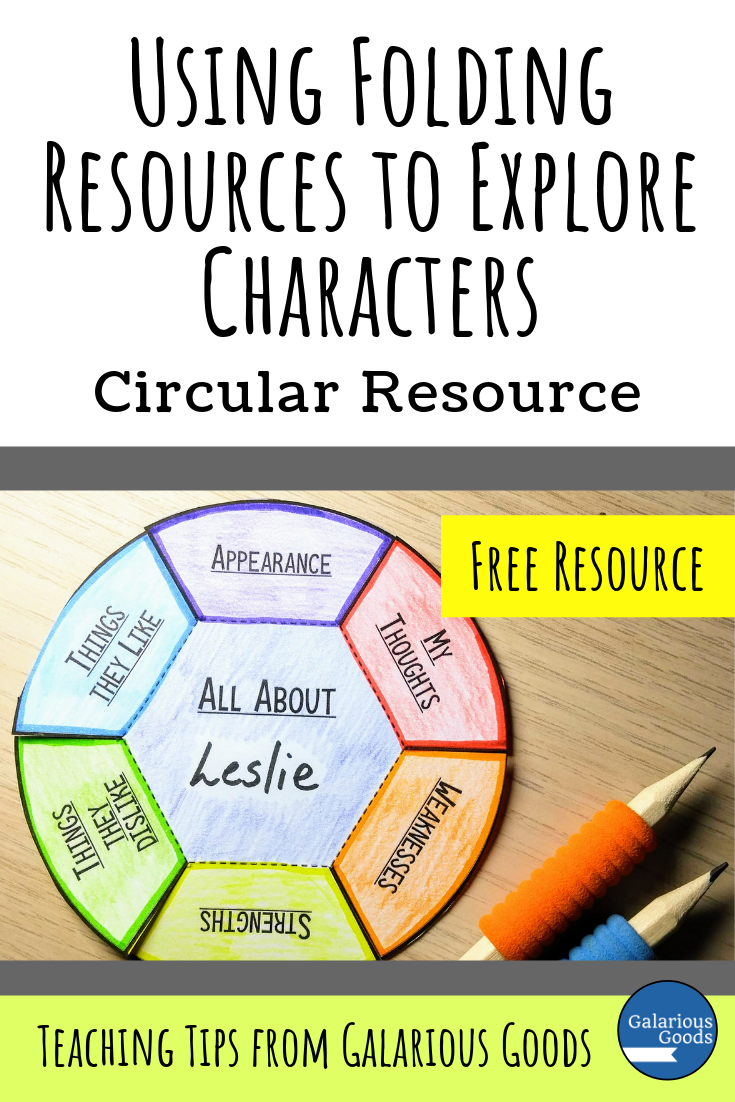
A circular folding resource is a great way for students to explore particular characteristics of a character.
Students cut out the circle and between the tabs, fold up the tabs, then paste the middle into their notebooks or into paper. The top of the tabs include different aspects of the character for students to explore - they write the answers to these under the tabs.
Take it further
Students can create multiple folding resources to make a display.
Students can use this in their own creative writing to assess the characters they’re writing
3. Character Booklet Folding Resource
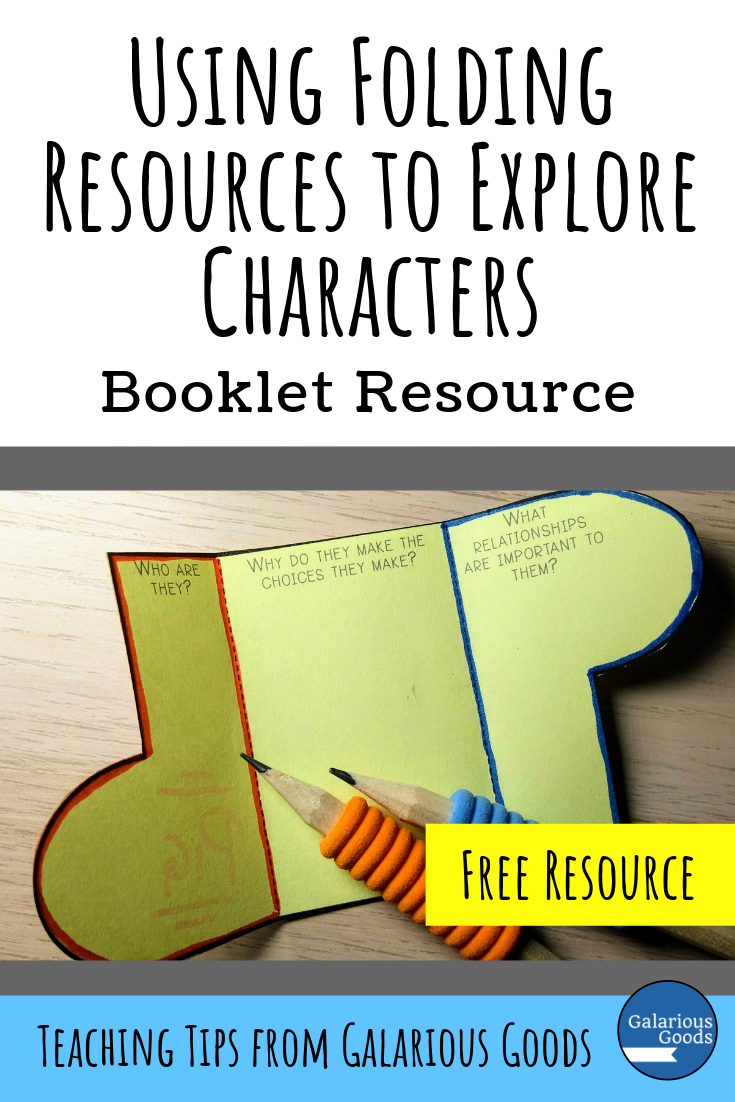
This is a great way for students to take a really in-depth look at a character. Students can use a folding booklet to explore questions like what kind of character they are, why they behave the way they do and their relationships with others in on compact resource.
Students cut out the folding resource on the solid lines and fold in the sides on the dotted lines. They answer the questions on the inside, then add details or decorate the outside.
Take it further
Students can leave off the name of the character and challenge others to work out who the character is
Students can use these as part of a ‘book talk’ or ‘book promotion’ for a character
Students can create these as assessment for a particular book