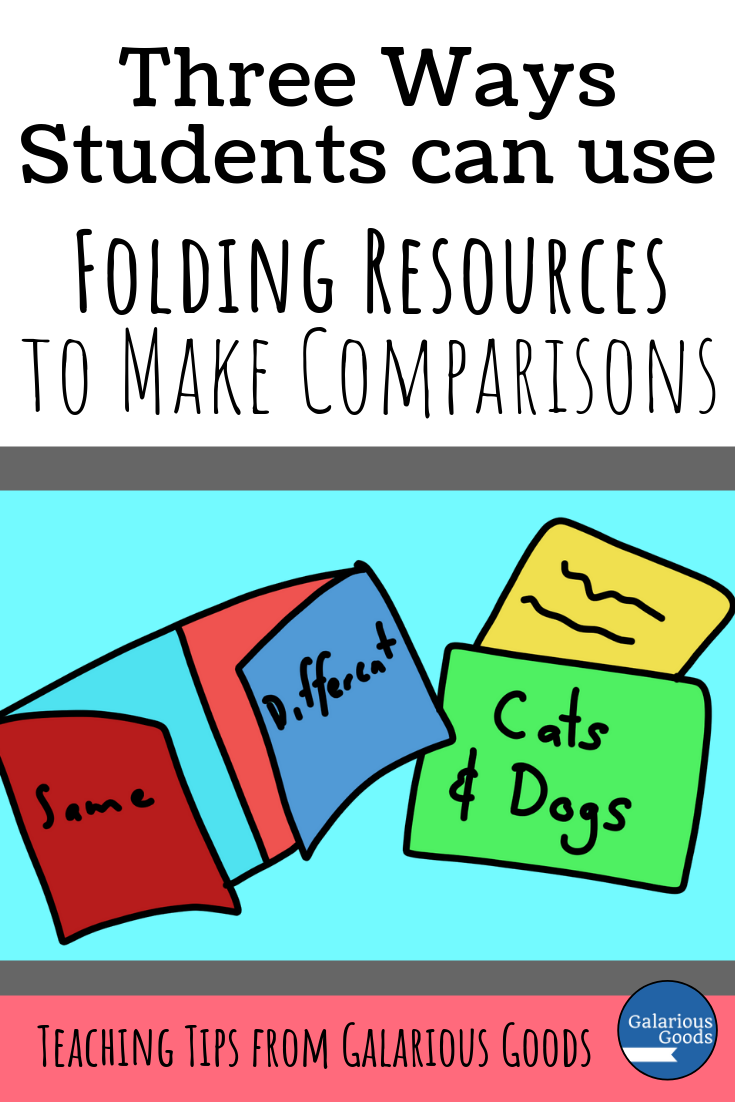
3 Ways Students Can Use Folding Resources to Make Comparisons
/I love folding resources and interactive notebook resources. They’re a great tool students can use to understand, remember and share content and ideas. I’ve previously shown three ways you can use folding resources to explore vocabulary. Today, here’s three ways students can use folding resources and interactive notebook resources to make comparisons.
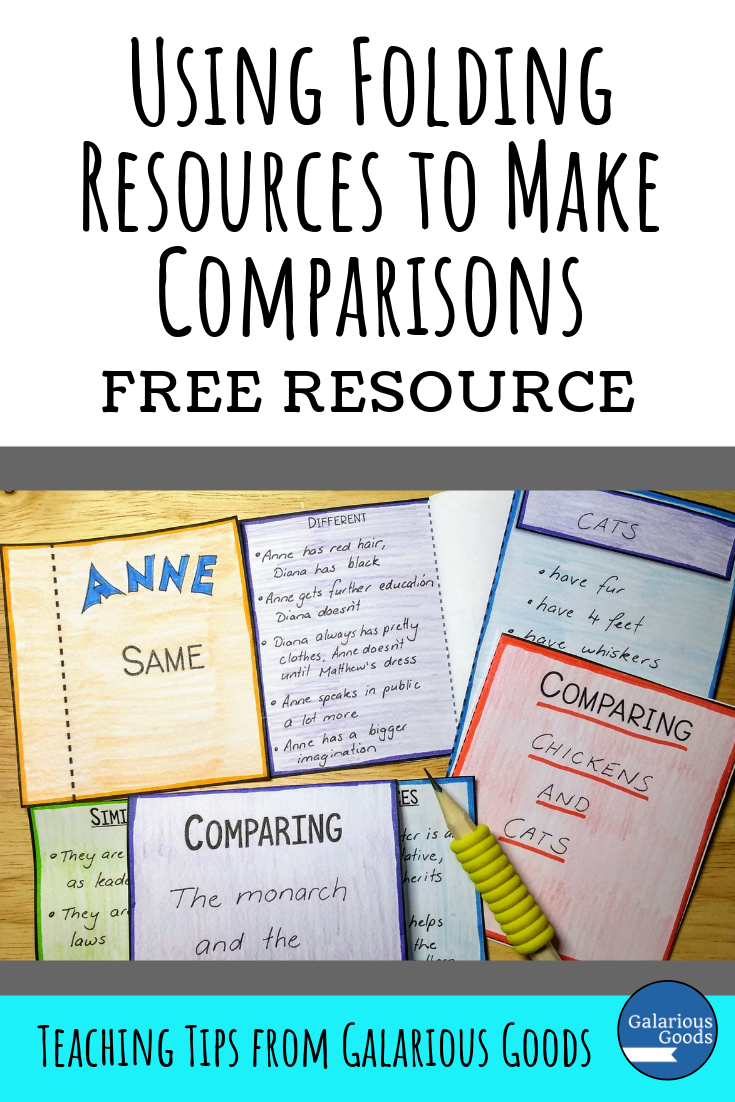
This resource uses a background and flaps to compare different characters, people in history, events and more. Students attach flaps or tabs to the sides or the middle of the background sheet, with a heading or headings on the outside of the resource and the similarities and differences or characteristics under the flaps.
This is particularly good when looking at the similarities and differences of characters. Students can write the character names on the front of the resource and lift one flap to share the similarities and the other to share the differences. You can also extend the resource to 4 or 6 characters and write some of the qualities of each character under the tabs.
Because this organiser just uses straight lines, students can easily make their own. Or you can download the free resource to get a printed copy.
2. Sliding Resource
This resource uses a folded ‘sleeve’ and an insert card to make comparisons. When it’s completed, the students can slide the insert card back and forward to see the comparisons. These can go into notebooks or be used to create classroom displays - especially for complex topics or novel studies.
Students make the sleeve by folding the two side sections backwards and fastening them behind the middle section. The card - which has a dividing line in the middle - then slides through.
This would be particularly good when exploring government or civics topics. Students could compare different levels of government, the roles of different people involved in government or even different types of government.
3. Turning Card Resource
This resource includes a pocket and an insert. The insert is created by folding a piece in half and fastening it together. Students can write about one thing on one side and one on the other (or similarities on one side and differences on the other. These can also be used to make a wall display.
The tabs on the pocket are folded back so they are tucked behind the main part of the pocket. These tabs are then fastened to the page or display board. The prepared insert goes inside the pocket and can be taken out and ‘flipped’ as required.
As well as characters or events, this can be used to compare settings of books, famous historical figures, things from a long time ago and things from now, different books - even different animals!
